
It’s Tuesday, which means that it’s CAL time again :) As I mentioned before I joined a CAL and so far it’s been lots of fun!
This week is again an intermediate square. Even though I think it was the easiest and the quickest of all the blocks we’ve done so far in that CAL. We also tackled another Melinda Miller square, she already designed the squares from week 2 and week 4. Lovely Dedri from LookatwhatImade made again a photo tutorial for the tricky bits if you need some help.
Anyways for anyone who wants to join the CAL it’s still not too late to say hello to the Official CCC Social Group on Facebook, they’ll get you all the info you need and also post the pattern of the week every weekend (and they’re a lovely bunch of girls who help you with all crochet related questions, so even if you don’t want to join the CAL it’s worth joining the group!).
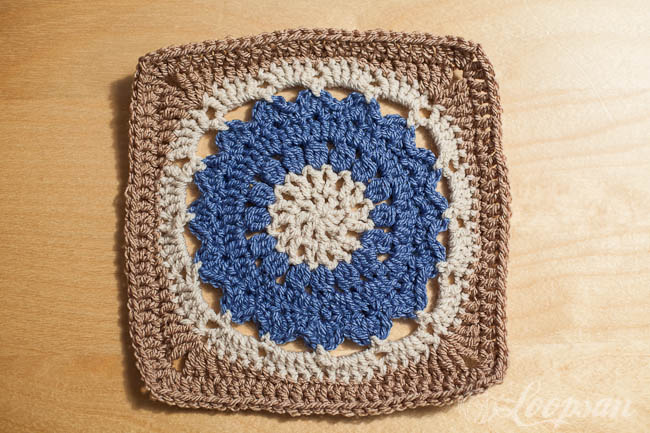
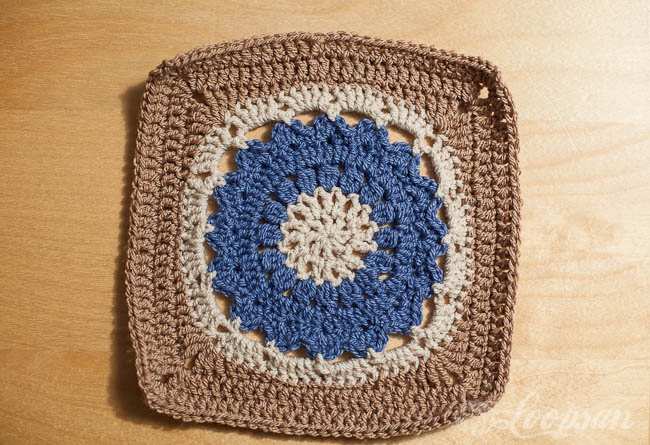
Week 5 Starfire
The pattern of the week is Starfire Square by Melinda Miller
You’ll need:
- 5 mm hook
- yarn ”cake” of your choice ( I used Stylecraft Special DK in denim, mocha and parchment for my square)
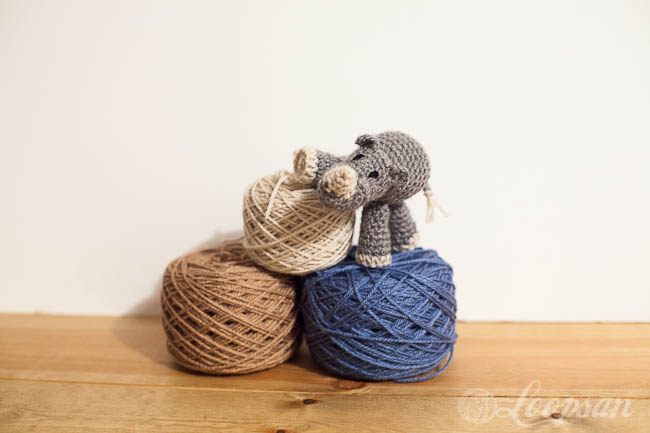
I’m featuring the little rhino this week again, as I’ll talk about him later this week :)
Finished size:
Mine came out just about 9 by 9 inches.
If you want to follow my colour palette here is a little list of my colour choices, or a little help to get you going with your colours:
Usually, I start off with a magic ring, BUT for this weeks square, it’s not advised if you’re not super confident with your crochet skills as it’ll make the counting a bit messy ;)
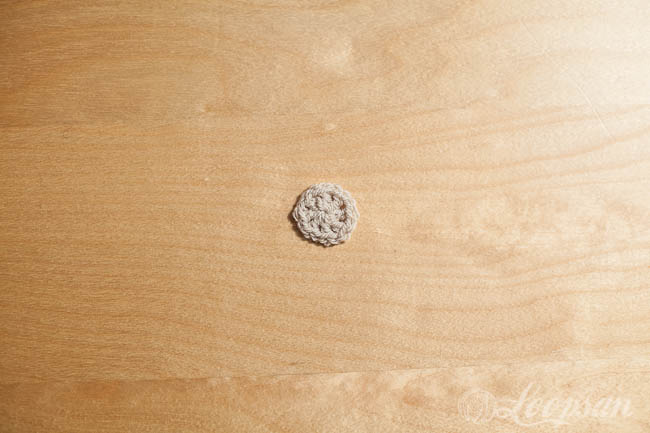
Round 1: Parchment
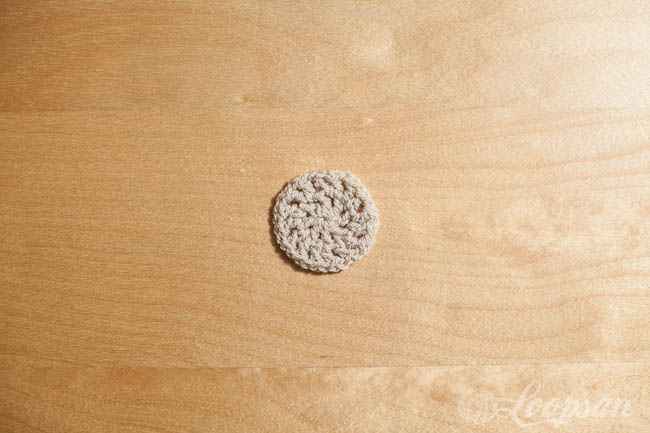
Round 2: Parchment

Round 3: Denim
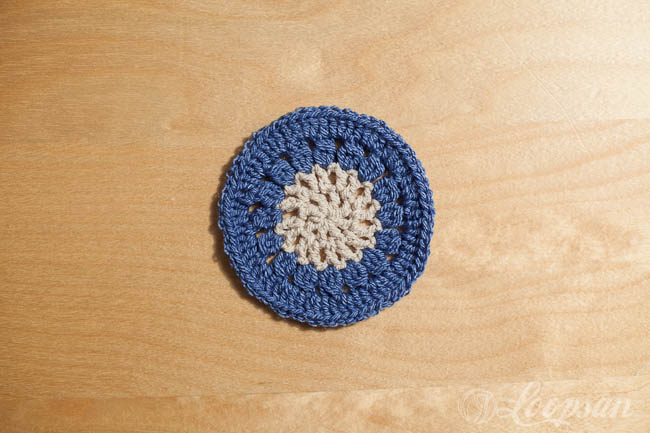
Round 4: Denim
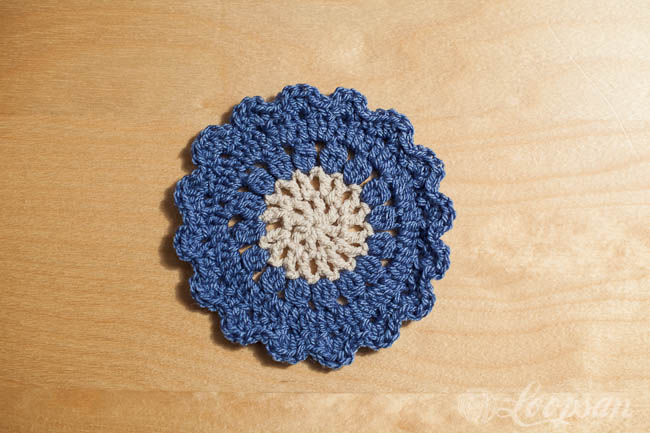
Round 5: Denim
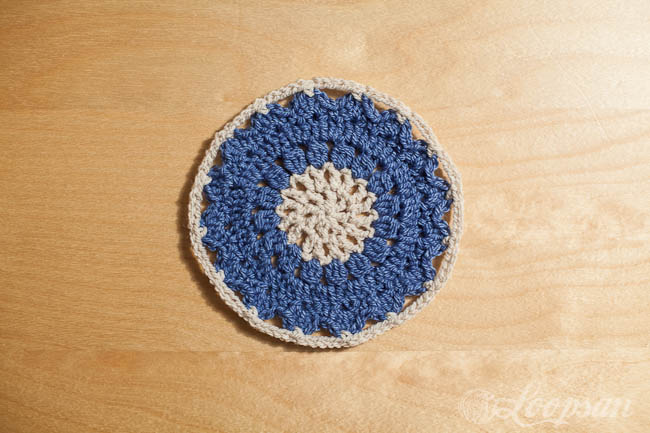
Round 6: Parchment
Round 7: Parchment (it’s getting a bit “bowly” here but don’t worry it’ll be okay in the next round)
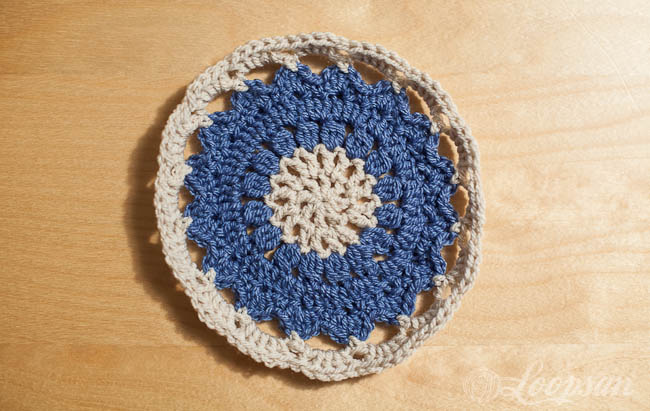
Round 8: Mocha
Round 9: Mocha
Round 10: Mocha

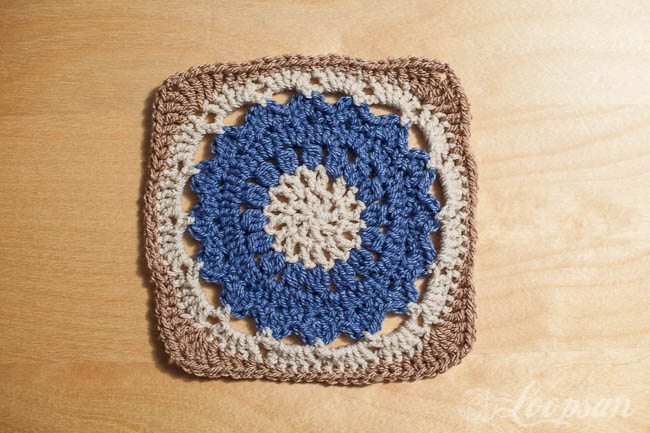
Round 11: Parchment
And that was this week’s square :). But I’ve got something little extra for you this week. Dedri was asking if there is a way of how to get rid of an obvious seam in this square and this is a short walk-through of what I do, but I’m sure that there are other ways, so if you know another way please let me know!
starting off your new round with either a standing double crochet stitch or your usual chain (I prefer the standing double crochet stitch)
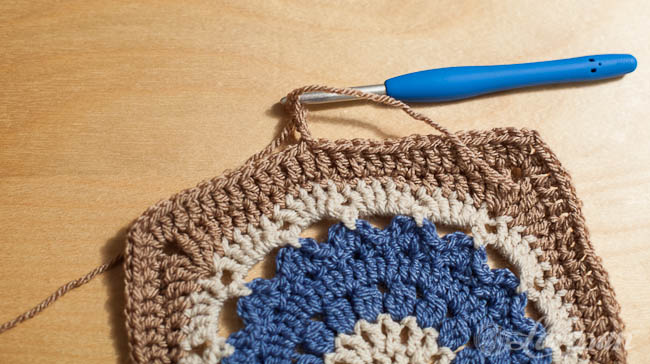
crochet around your square as you normally would until you come to the point where you would join with a slip stitch
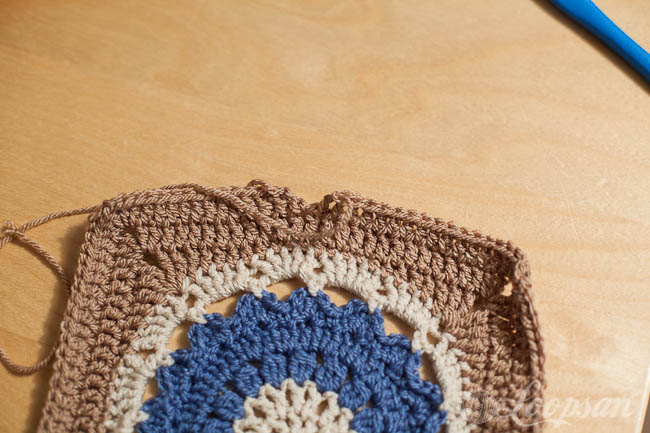
do NOT slip stitch here, instead, fasten off and grab your tapestry needle
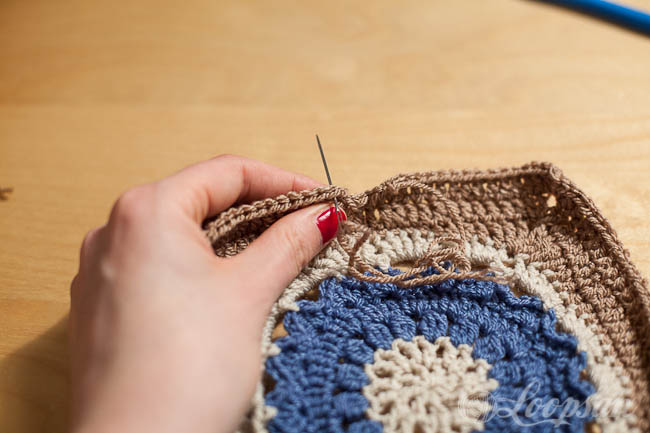
now go through both loops of the stitch AFTER the one you would have joined with a slip stitch. this is important as otherwise you’ll make an additional stitch with this method
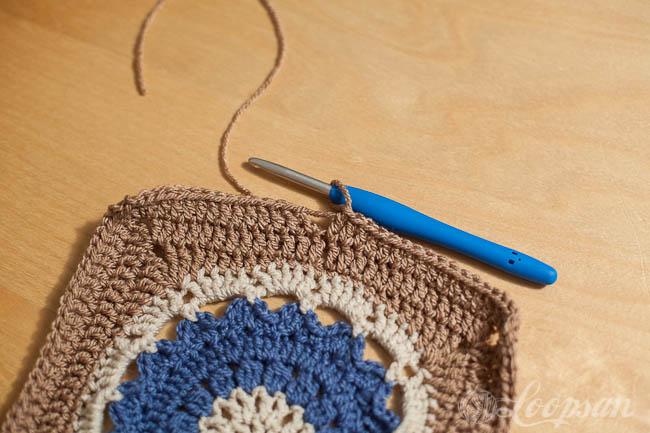
now go through the backloop only of the stitch you just fastened off

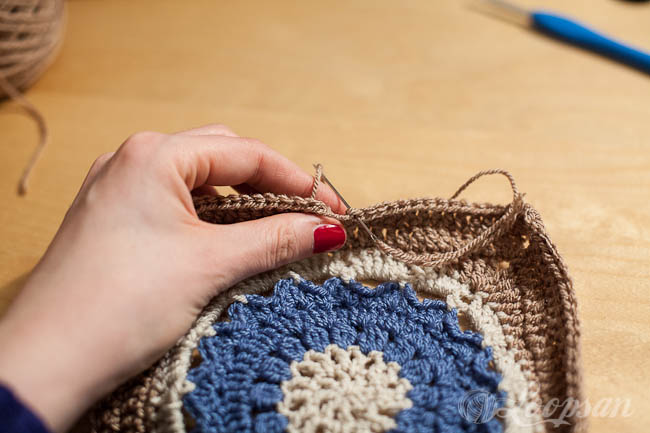
pull your yarn in place and tada you just made a seamless join :) And as you’ve got your yarn end already “on the needle” weaving in the ends is now even easier ;)
I would love to see how your square turned out so please feel free to link your end result to the CALs Flickr group or post it onto the CAL groups page. But a warning! Those two groups are MASSIVELY addictive and you’ll want to make more than just the lovely squares you’ll see there!
My friend Dedri, from lookatwhatImade, is also following the CAL (she is actually the person I blame for being “hooked” up in this CAL ;)), she is also using Stylecraft yarn but her colours are much more cheery, so feel free to hop over and have a look what she’s been up to.
And don’t forget to follow me on bloglovin to stay updated on what’s happening here :)
Stay updated and receive exclusive discount codes in your email inbox

Happy Crocheting!


3 Comments
These colours are so pretty!
Love your block, San. Thank you for the seaming tip. I will add a link soon(ish) hehe. too busy to turn. xx
Pingback: Block 5: Starfire (A Photo Tutorial) - Look At What I Made