
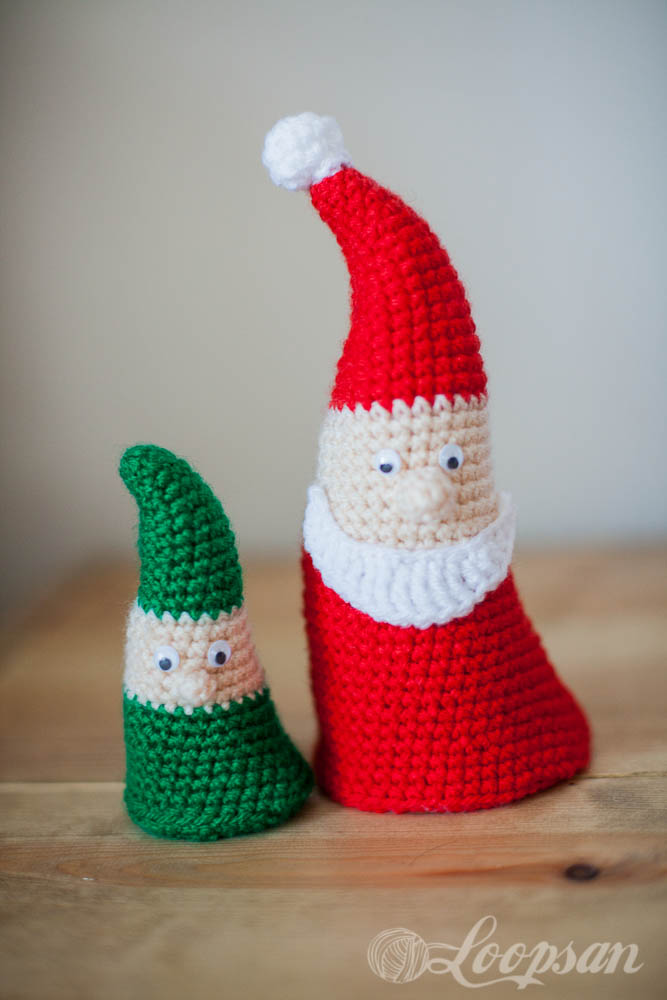
Just a couple of days ago I posted a pattern of Elfus and I’m really happy that he is getting so much love in blogland :). After looking at him I thought that actually whats missing is a Santa. But as Santa is always bigger than his little helpers I had either the choice to make an extra big Santa or adjust the pattern and make a mini version of Elfus. I decided that going done the mini Elfus route might be better as otherwise Santa would be have been quite big and wouldn’t have been suitable for a shelf anymore. Its again an easy crochet project so its definitely suitable for a beginner :)
Crochet Santa and his little helpers pattern
You’ll need:
- DK yarn in green, red, white and “skin colour” (I used Hayfield Bonus DK)
- 3.5 mm hook (4.00 mm hook if you want two different elf sizes)
- polyfill
- wobbly eyes in your prefered size
- tapestry needle
Gauge: not important you just might want to go either up or down a hook size when you crochet too tightly or too loose (you can test it by crocheting the first 4 rounds and push a little bit of polyfill behind for checking if its visible or not. If it is reduce your hook size, if you’re having problems inserting your hook into the stitch of the previous round go up by a hook size)
The whole project is done in rounds, do not join at the end

ch= chain
sc= single crochet (US term); double crochet (dc, UK term)
st= stitch(es)
hdc = half double crochet (US term); half treble crochet (htr, UK term)
dc = double crochet (US term); treble crochet (tr, UK term)
trc = trible crochet (US term); double treble crochet (dtr, UK term)
sc2tog= single crochet decrease (US term); double crochet decrease (dc2tog, UK term)
In my patterns UK terms are always given in brackets.
Mini Elfus
Body
with green
Make Magic ring, ch 1
Round 1: 8 sc (dc) in magic ring. (8st)
Round 2: 2 sc (dc) in first st, sc (dc) in next 7 st. (9st)
Round 3: 2 sc (dc) in first st, sc (dc) in next 8 st. (10 st)
Round 4: 2 sc (dc) in first st, sc (dc) in next 9 st. (11 st)
Round 5: 2 sc (dc) in first st, sc (dc) in next 10 st. (12 st)
Round 6: 2 sc (dc) in first st, sc (dc) in next 11 st. (13 st)
Round 7: 2 sc (dc) in first st, sc (dc) in next 12 st. (14 st)
Round 8: sc (dc) around (14 st)
Round 9: sc (dc) around (14 st)
Round 10: sc (dc) around (14 st)
Round 11: 2 sc (dc) in first st, sc (dc) in next 13 st. (15 st)
Round 12: 2 sc (dc) in first st, sc (dc) in next 14 st. (16 st)
change to skin colour
Round 13: 2 sc (dc) in first st, sc (dc) in next 15 st. (17 st)
Round 14: 2 sc (dc) in first st, sc (dc) in next 16 st. (18 st)
Round 15: 2 sc (dc) in first st, sc (dc) in next 17 st. (19 st)
Round 16: 2 sc (dc) in first st, sc (dc) in next 18 st. (20 st)
Round 17: 2 sc (dc) in first st, sc (dc) in next 19 st. (21 st)
Round 18: 2 sc (dc) in first st, sc (dc) in next 20 st. (22 st)
change to green
Round 19: 2 sc (dc) in first st, sc (dc) in next 21 st. (23 st)
Round 20: 2 sc (dc) in first st, sc (dc) in next 22 st. (24 st)
Round 21: 2 sc (dc) in first st, sc (dc) in next 23 st. (25 st)
Round 22: 2 sc (dc) in first st, sc (dc) in next 24 st. (26 st)
Round 23: 2 sc (dc) in first st, sc (dc) in next 25 st. (27 st)
Round 24: 2 sc (dc) in first st, sc (dc) in next 26 st. (28 st)
Round 25: 2 sc (dc) in first st, sc (dc) in next 27 st. (29 st)
Round 26: 2 sc (dc) in first st, sc (dc) in next 28 st. (30 st)
start stuffing your little elf here
Round 27: in backloops only sc (dc) in each st around. (30 st)
Round 28: *sc2tog (dc2tog), sc (dc) in next 3 st*, 6 times. (24 st)
Round 29: *sc2tog (dc2tog), sc (dc) in next 2 st*, 6 times. (18 st)
Round 30: *sc2tog (dc2tog), sc (dc) in next 1 st*, 6 times. (12 st)
Round 31: *sc2tog (dc2tog)*, 6 times. (6st)
Fasten off, stitch the remaining hole close and weave in the end
Nose
with skin colour
Magic ring, ch 1
Round 1: 4 hdc (htr) in magic ring join with slip stitch to first ch st
fasten off, weave in end but don’t cut the yarn. sew nose to the face part of your little elf.
Attach wobbly eyes, if you fancy bend the tip of his hat a little bit :)
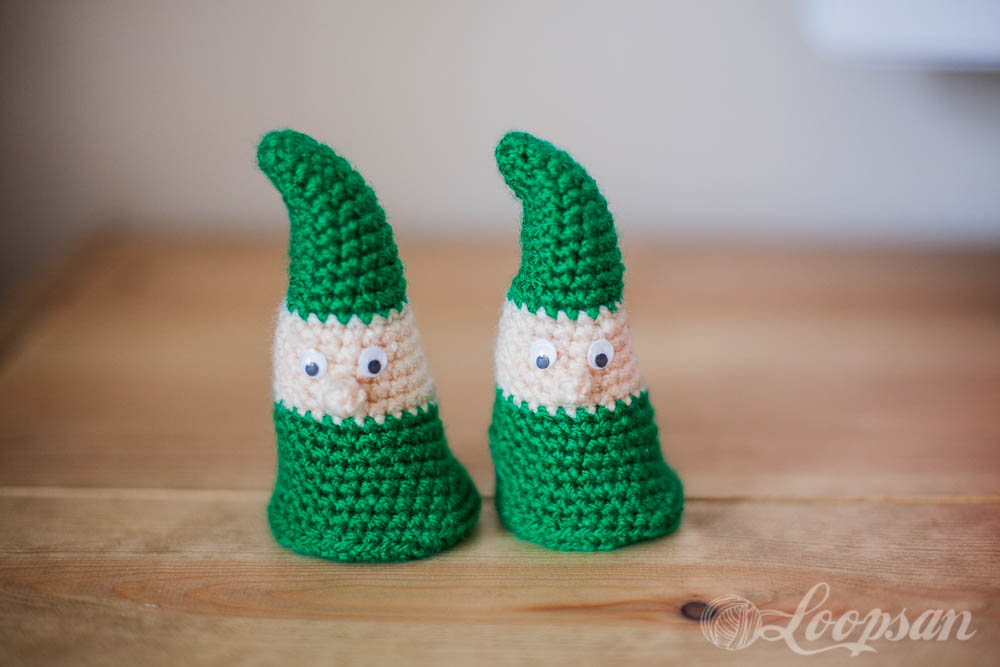
Make a second one that he is not so alone in his world. I made two different sizes. The slightly smaller one is made with a 3.5 mm hook, while I used a 4 mm for the slightly bigger on.
Santa Claus
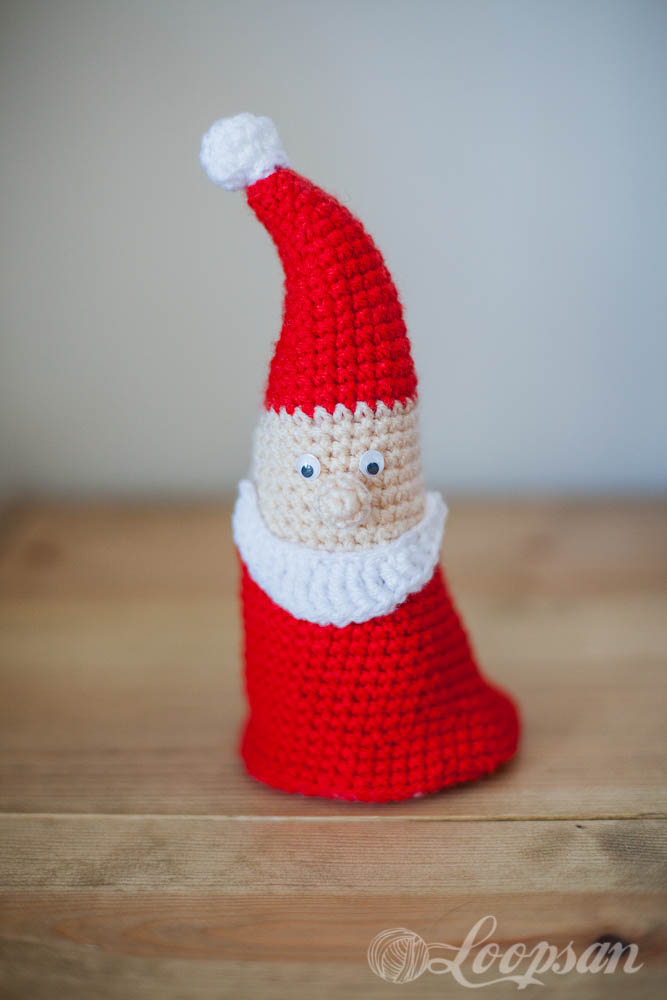
Make one big Elfus, just replace the green yarn with red.
Beard
with white
Row 1: ch 21
Row 2: sc (dc) in second st from the hook, sc (dc) in next 2 st, hdc (htr), dc (tr) in next 3 st, trc (dtr) in next 6 st, dc (tr) in next 3 st, hdc (htr), sc (dc) in remaining 3 st
fasten off, weave in ends and sew onto Santa Elf body.
Hat booble
with white
Make Magic ring, ch 1
Round 1: 8 sc (dc) in magic ring. (8st)
Round 2: 2 sc (dc) into each st around (16st)
Round 3: sc (dc) around (16 st)
Round 4: *sc2tog (dc2tog)*, 8 times. (8st)
fasten off, weave in ends and sew onto hat.
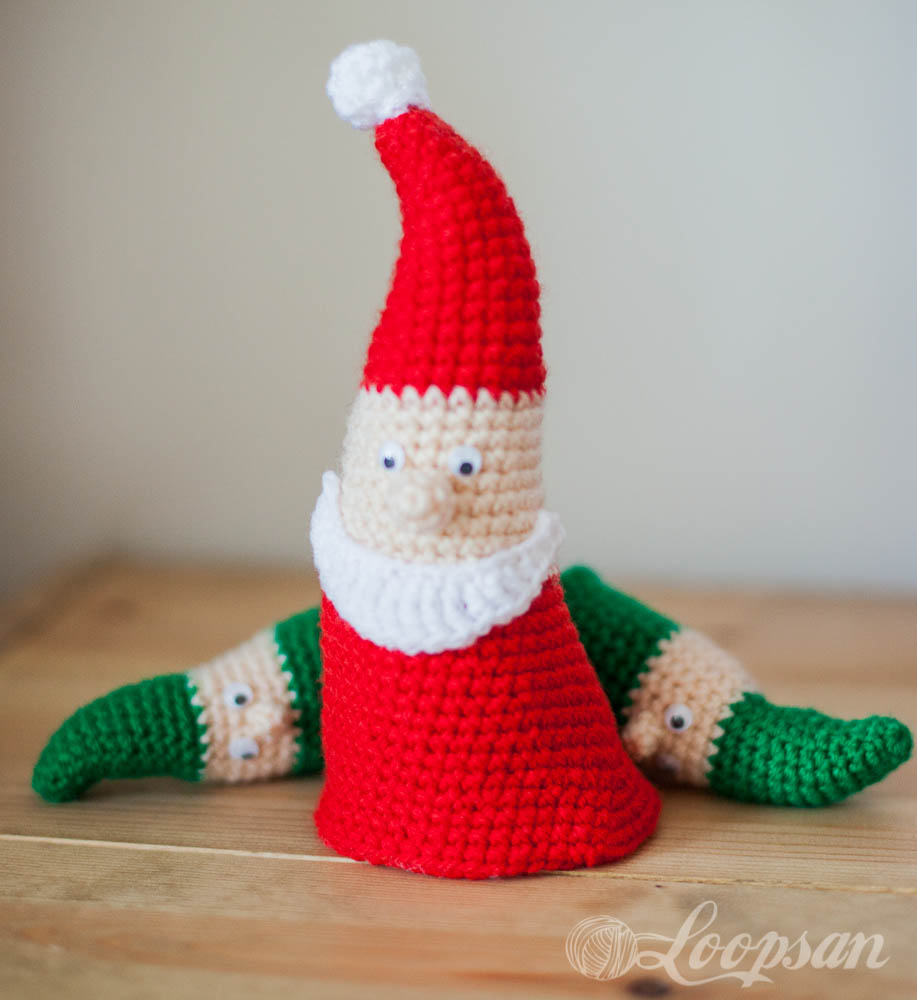
I would love to see how your Santa and little elf combo turned out :) So feel free to send me either a picture or post it to my Facebook wall :)
You want to stay updated on what’s happening here? Why not sign up to my newsletter to stay updated and receive exclusive discount codes into your email inbox.
Happy Crocheting!

Disclaimer: This pattern is not for resale so please do not sell it to other people. If you do use it and enjoy it, I’d be grateful for a link back to my blog and the pattern, but please don’t copy and paste it to your website or copy my pictures. You’re allowed to sell finished items created with the pattern, but please do give me credit as the designer (link back to the blog when selling online). Thank you!


6 Comments
so sweet!! thank you for sharing the pattern
have a nice day
Pingback: Craftaholics Anonymous® | Introducing the 2014 Creative Team
Pingback: 30 Free Christmas Amigurumi Patterns! Oombawka Design Crochet
What a cute Santa and elves.
Thank you :)
Too cute! Santa can never have enough elves!