I know that I’m pretty late this year and I’m sorry for that. Was actually planning to get this tutorial up and running beforehand to give you enough time to make one yourself THIS year but I “slightly” underestimated the time it will actually take to make it. That’s why this tutorial is a little bit late but maybe its something for next year? :) Or if you haven’t done one already you might want to get cracking on it :)
As two different parts are involved in this calender I’m going to make two different blog posts about it. I don’t want you to overload with too much information at once, especially as you might just want either the bag bit or the peg bit for your calender :)
Advent Calendar Part 1 – The Bags
You’ll need:
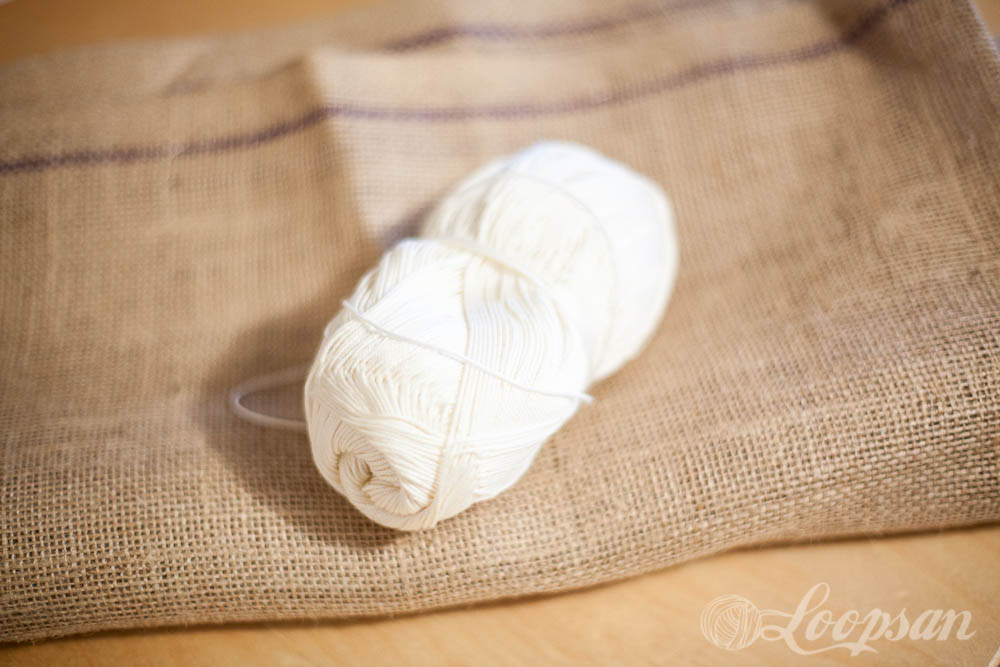
- 1 ball of cotton yarn (I used the really soft 100% cotton yarn by Patons in 4 ply)
- 2.5 mm hook
- ca. 1 m burlap
- ca. 0.5 m cotton fabric
Starting off with the numbers
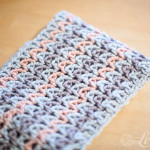
I used the numbers pattern I found on the Moogly website. Easy to follow and can definitely recommend it. Make sure that you’ll leave a long enough end as we’re going to use this end to sew them on later.
After you crocheted all of your numbers give them a little bit of a block with your iron.
Sewing your bags
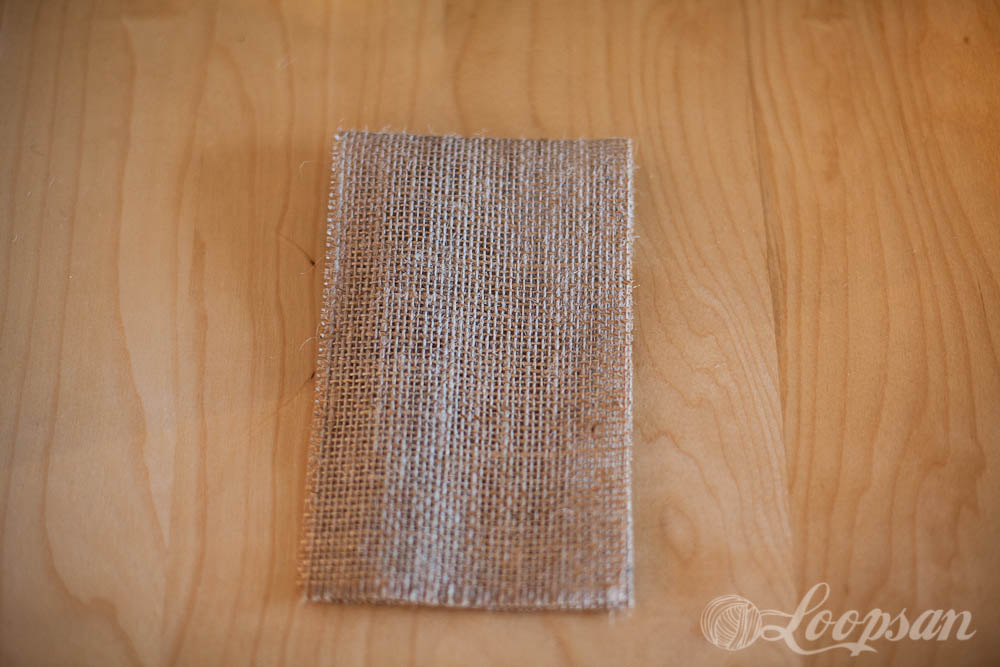
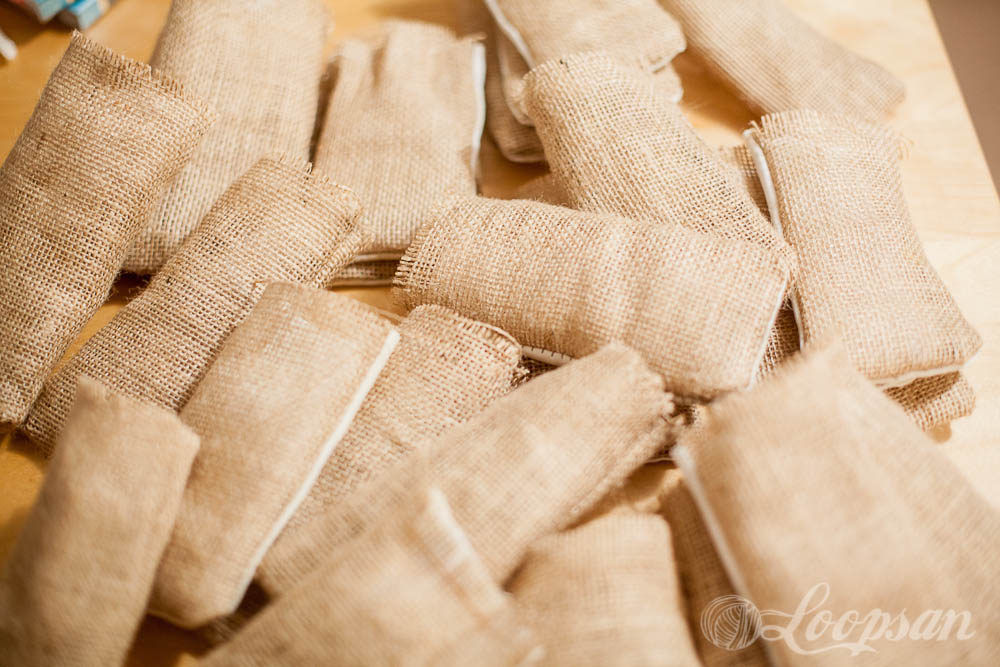
I wanted a little bit of mix and match bags with my calendar so I started of with making 12 pure burlap bags. Sewing burlap is a little bit tricky and I’m not yet an expert.
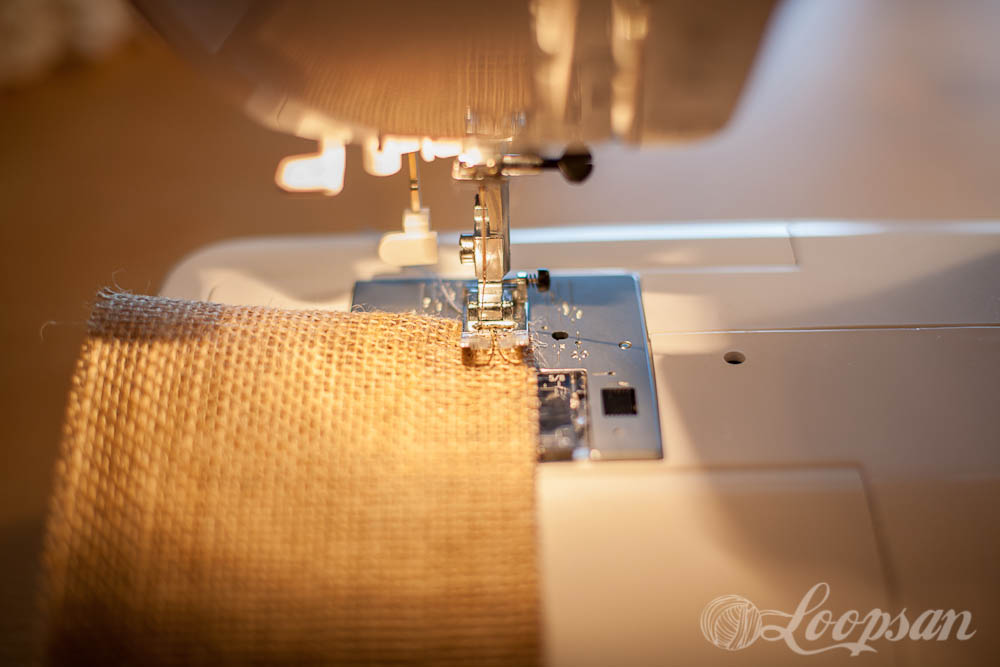
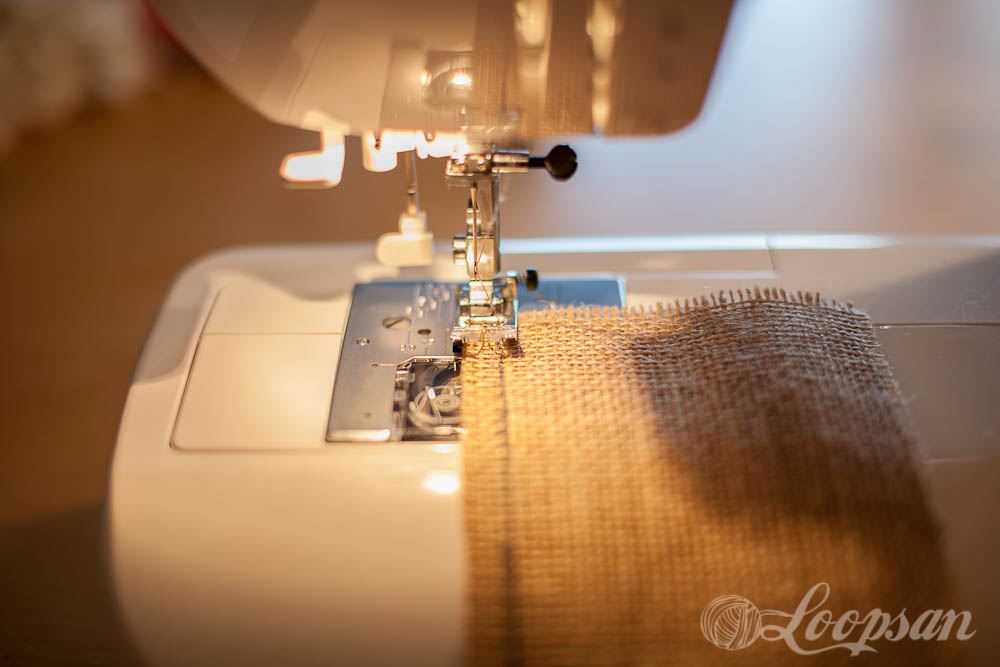
If you want to make sure that your work doesn’t get undone sew your bags with a zigzag stitch together (I used a zigzag/straightline combination stitch on my machine no idea how this stitch is actually called, do you?).
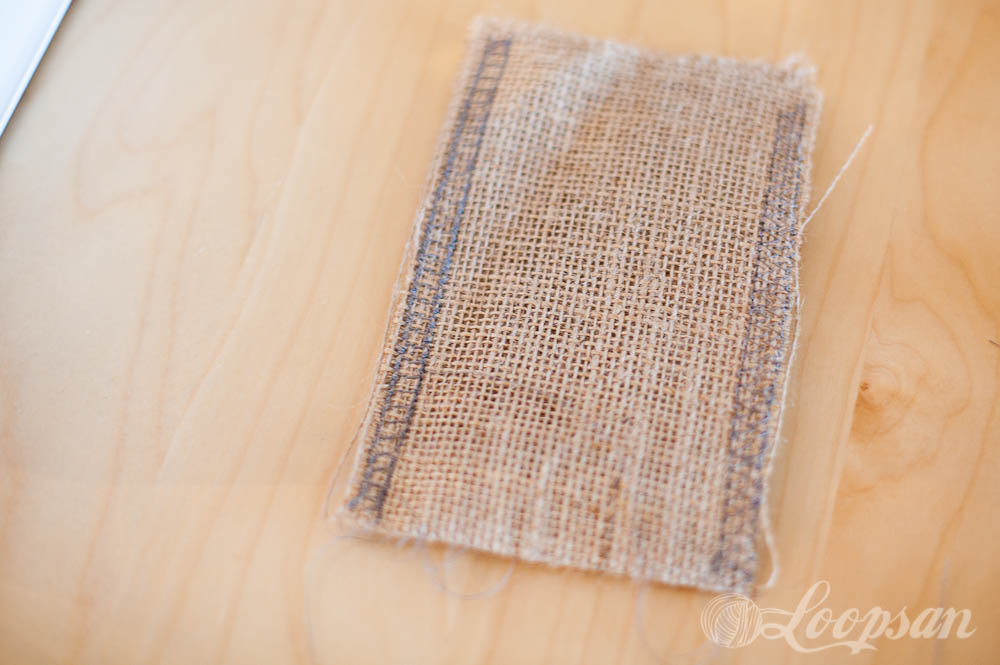
As I wanted to make sure they they really don’t get undone I gave them a second seam. If you’re experienced in sewing burlap I would like to hear your tips and tricks as this was just my trial and error method. Pretty sure there is a nicer looking method out there ;).
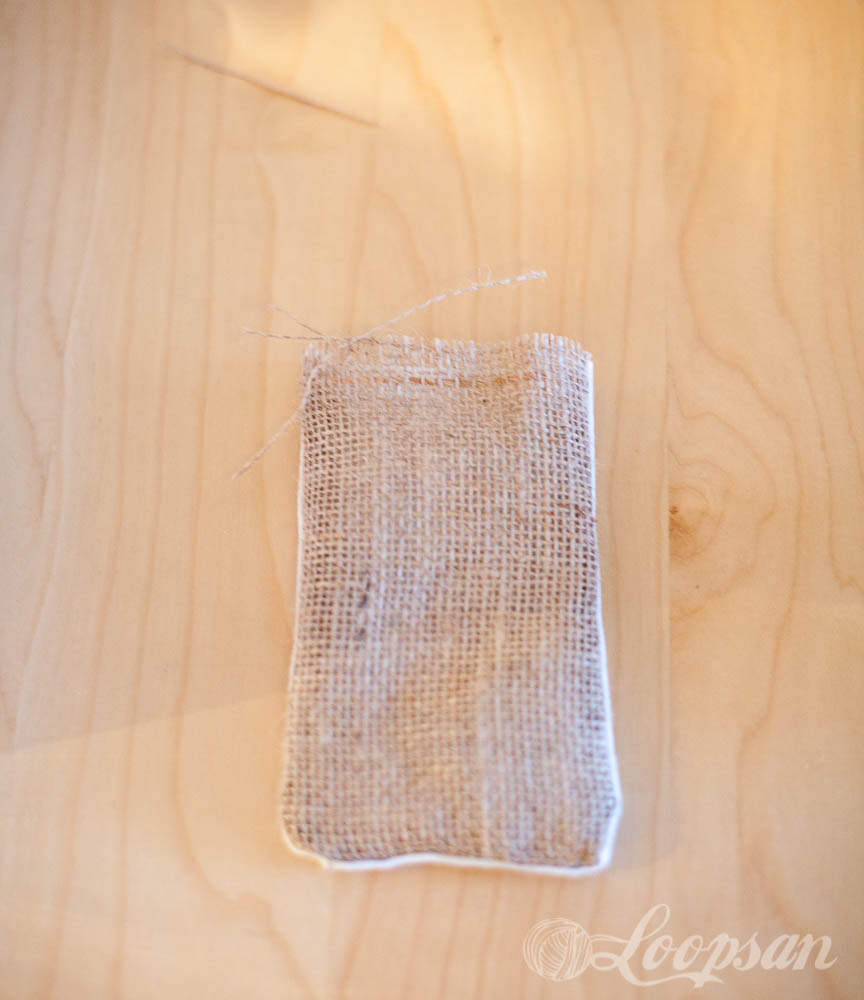
For the second half of my bag I sewed a burlap front onto a cotton back.
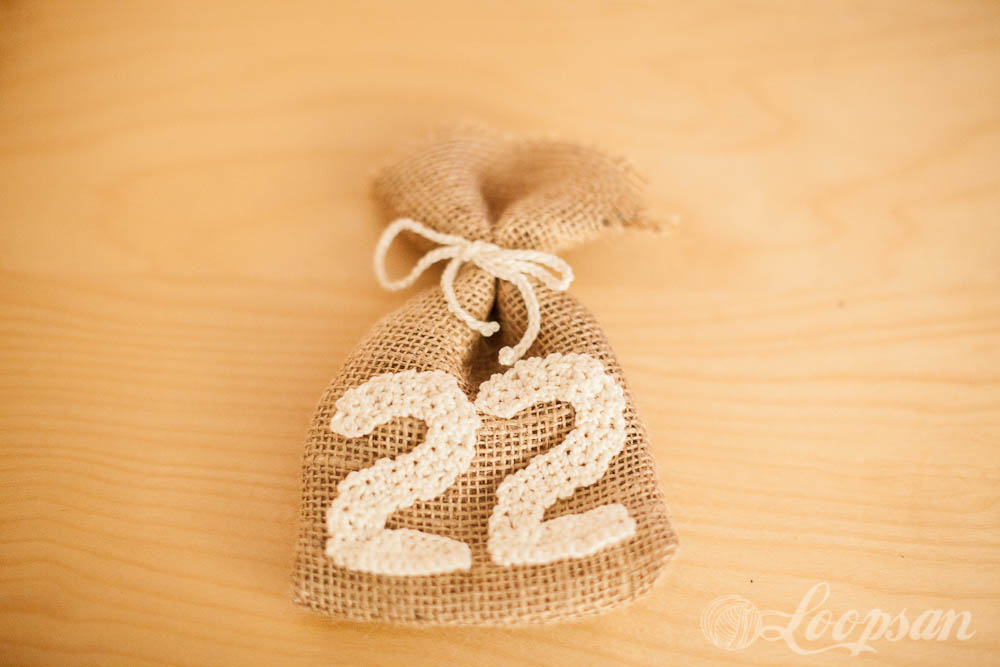
Attach your number to your bags
Place your numbers onto your bag and sew them with on with the yarn ends
Closing your bags
You can use ribbons if you want to but I just made crochet chains as closures for my bags.
And that’s part 1 done :)
Happy Crocheting!