
I’m sooo excited to finally share another rattle pattern with you. Once again this pattern is a collaboration of Dedri Uys from LookatwhatImade and my little self. And I’m still feeling very privileged to work with her. So after Grace and Edward, please welcome Napolion to our little rattle world.
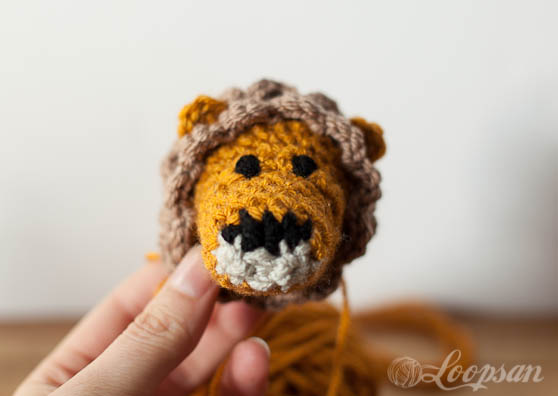
Napolion- The Lion Rattle
Suitable for an advanced beginner
You’ll need:
- DK yarn in black, white and your favourite lion colour (I used Stylecraft Special DK in black, parchment, gold and mocha for mine)
- 4mm and a 5 mm hook
- Rattle insert or jingle bells and a tiny bit of cotton fabric (you can find an instruction of how to make your own rattle insert with jingle bells here)
- tapestry needle
- Napolion :) Or to be more precisely his head ;) Follow Dedri’s pattern for Napolion- the crochet lion which you can find here until you reach row 12. The only change you have to do at this point is to double up your yarn and use a 5 mm hook (this needs to be done otherwise Napolion’s head will be too small for the rattle!) DON’T fasten off at this point! we’ll be working from there :)

Abbreviations
ch= chain
sc= single crochet (US term); double crochet (dc, UK term)
sl st = slip stitch
st= stitch(es)
In my patterns UK terms are always given in brackets.
Lets get started:
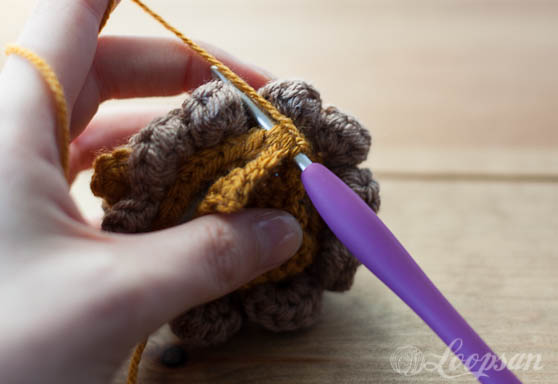
This is how Napolion’s head should look like at this point. From now on you’ll be working with your 4 mm hook.
Row 1: sc (dc) in the next 3 st and drop one of your two strings of yarn, ch 1
Row 2-8: sc (dc) in the next 6 st, ch 1 and turn
Slightly stuff Napolion’s head and add the rattle insert. In the case of the selfmade version make sure that you don’t stuff it too densely into the head, otherwise you’ll end up with a rattle which actually doesn’t rattle at all.
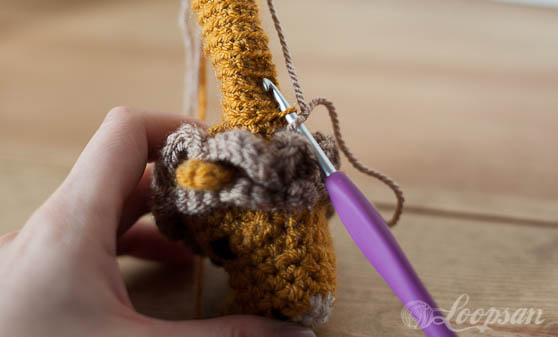
Row 9: fold the piece you just made over and “sew” it on the other side with 6 sl st.
That’s the head bit made. From now on we’re working in rounds again :) Drop the piece of yarn you just used and start working from the other piece of yarn.
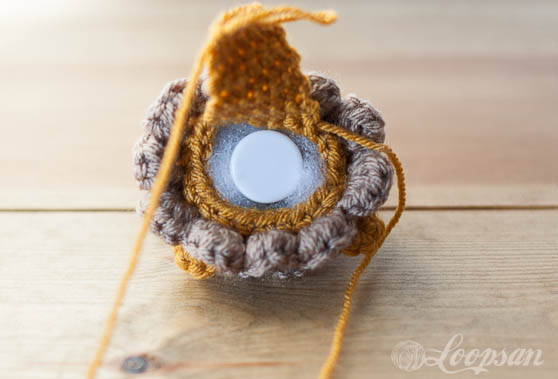
Handle
Row 1: 5 sc (dc) in front loops only, 7 sc (dc) evenly spread over the piece of fabric you just created.
From now on all of your stitches are going to be made into the back loops only. You’ll see soon why.
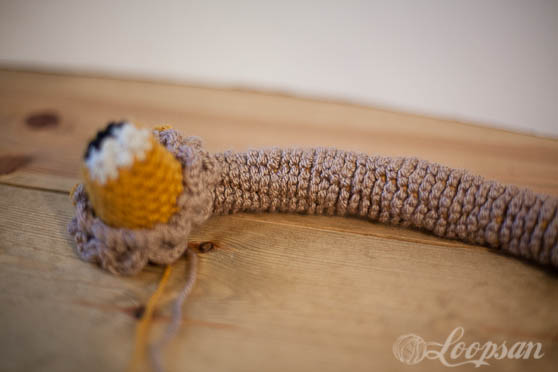
Row 2-15: 12 sc (dc) around
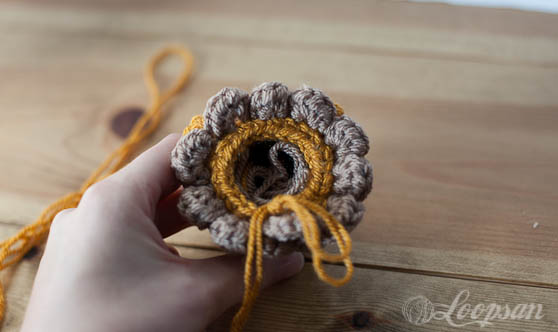
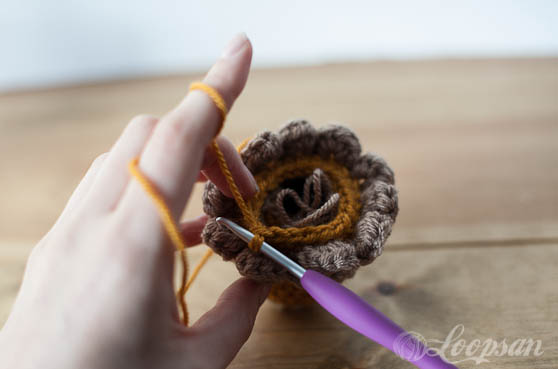
Take your contrast colour (mocha in my case) and join it with a standing sc (dc) (check out this lovely tutorial by Dedri if you need some help with it) and make 3 sc (dc) in the front loop of all st on your handle.
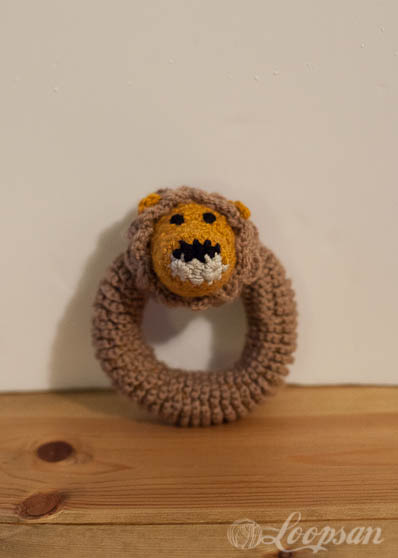
Do you see the lovely texture it is creating? :). Keep on going and stuffing while you go until you reach your desired rattle diameter. I made 45 rounds but that’s totally up to you and also depends on the yarn you’re using and your tension.
The last bit is the only really tricky bit of the whole rattle and you’ll notice that it is easier to attach if your diameter is slightly bigger rather than smaller as otherwise there is too much tension on the seam.
make 7 sl st across the back and 5 sl st through the front loops only to turn your ring into a doughnut.
I hope you enjoyed the pattern and would love to see how your rattle turned out so please feel free to post a picture to my Facebook wall or link the project to your Ravelry account. And don’t forget to follow me on bloglovin to stay updated on what’s happening here.
Stay updated and receive exclusive discount codes in your email inbox

Happy Crocheting!

Disclaimer: This pattern is not for resale so please do not sell it to other people. If you do use it and enjoy it, I’d be grateful for a link back to my blog and the pattern, but please don’t copy and paste it to your website or copy my pictures. You’re allowed to sell finished items created with the pattern, but please do give me and Dedri Uys from lookatwhatImade credit as the designers (link back to our blogs when selling online). Thank you!


3 Comments
Awesome!!! I will share this tomorrow :)
You are a rock star xx
Amazing! This is exactly what I was asking about back in May, only this is even better then what I imagined! I would never have thought to put a “mane” on the handle. Maybe I’ll make my mane striped… if it’s not to much work carrying the yarn and switching colors every row. :) lol
Thank you :) Glad that you like it :) A striped mane that’s an awesome idea! Please send me a pic when you’re done!